

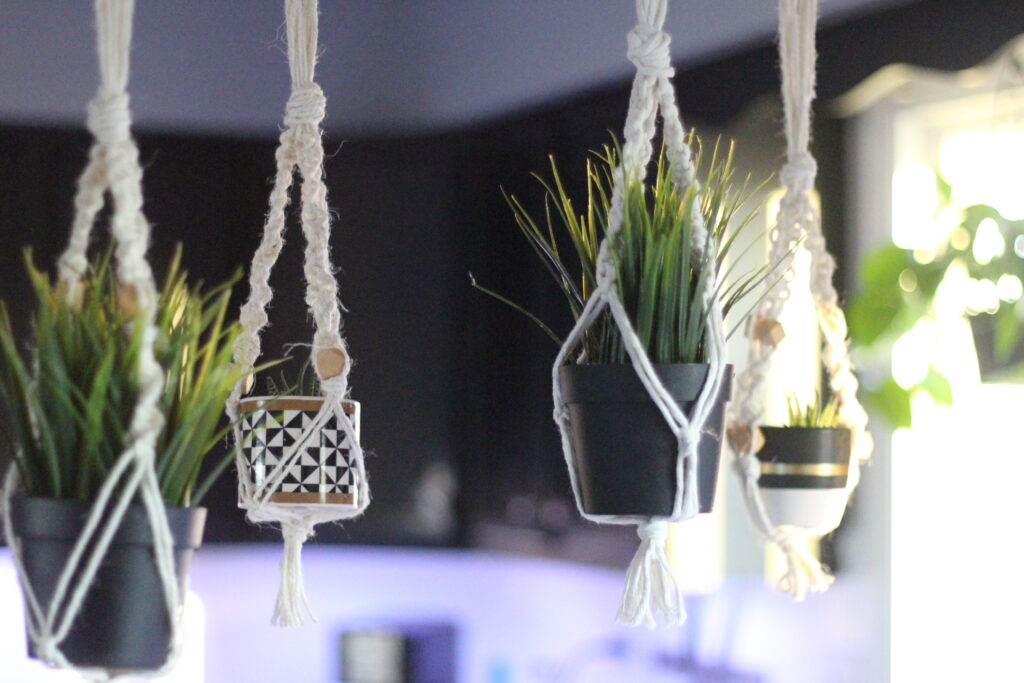
This Mini diy Macrame Plant Hanger is such a cute way to dress up one of your mini succulent plants you have sitting around. These cute plant hangers look adorable hanging on your rear view mirror in your vehicle or anywhere in your house.
This was my first macrame project to ever try and it was lot of fun to learn!
This easy craft uses only a couple types of simple knots and is not very complicated to figure out! My nine year old daughter learned along side of me and her plant hanger turned out perfect! I did not know how my macrame skills would be, but we both caught on very quickly! If I can do it, then I know you can too!
Everywhere I go I am seeing these beautiful macrame plant hangers! There are all kinds, from huge ones to mini ones, from intricate to simple, and all so beautiful! I think its safe to say I’m obsessed! What’s funny is that I remember my parents having something like this in their kitchen when I was a young girl with one of those old fake house ferns everyone had back then. Oh, how crazy it is how all the styles circle back around and come back into style!
This diy project is a great place to start if you haven’t done anything like this before. You will learn a couple basic macrame knots that you will be able to use in the future. You can complete this whole great project in under 30 minutes! This is a great gift idea for any of your plant loving girlfriends or a little something to add to your home decor stash!
There can be many variations of this by using different materials, different color cords or making it bigger by adding extra knots or extra wooden beads.
What is the best material for Macrame Projects?
You can use any type of cord for Macrame, but many people prefer a nice cotton cord. These look nice and are nice and soft to the touch, when combed out at the bottom the fringe looks really nice.
Some other options are: Jute rope, twine, linen, hemp or leather
What you need to make a Mini Diy Macrame Plant Hanger
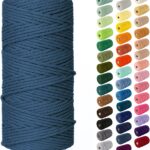
3 mm Macramé Cord. If using a thicker size just cut the ropes a little longer, since it’s thicker it will use up more rope.
Scissors
Wood Beads (optional)

How much Cord does it take to make a mini diy macrame plant hanger?
For this Macramé plant hanger you will use 6 pieces of cord that are each 5 foot long, and 1 additional pice that is about 12 inches long.
The roll of cord I purchased was enough material to make 4 of these macrame planters and I still even had some left over!
Step-by-step instructions on how to make your own Macrame plant hanger
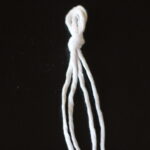
First, using a tape measure tape and sciccors, cut 6 pieces of macrame cord that are each 5 feet long. Also, cut 1 piece that is about 12 inches long.
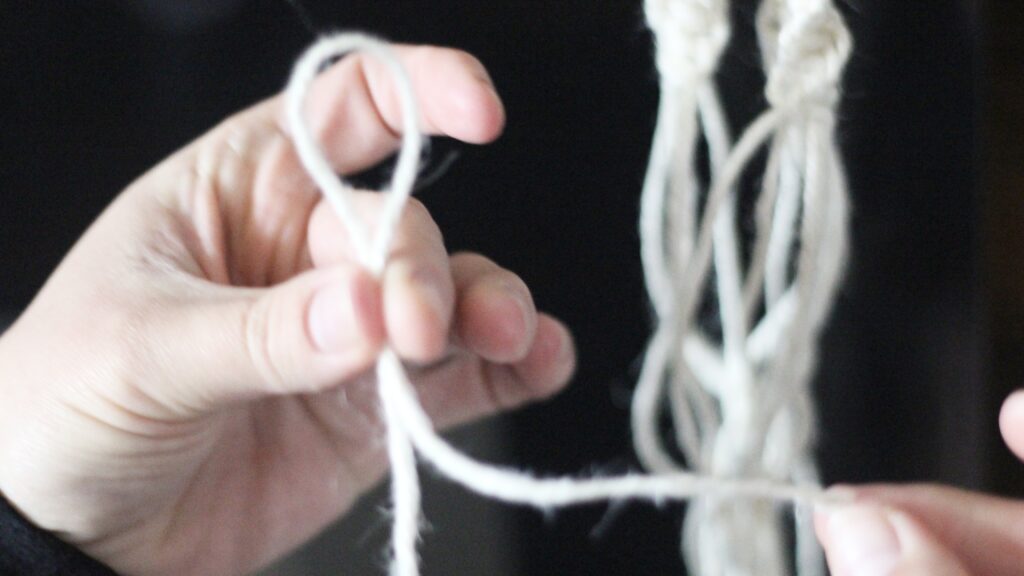
Next, take all your strands and gather all the ends together at the top. Fold them all in half, holding them at the fold.

Make a loop and tie a basic Over hand knot. To smooth out the knot, pull each rope individually and it will tighten the knot nicely.
Now you have a loop on the top that you will be able to use to hang your easy macrame plant hanger from.
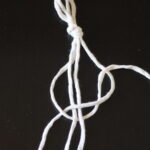
You will want to hang your cord on something while you work on it, it will be much easier than laying on a table.
Next, let me show you how to tie the first knot we will be using!
Start with a square knot
Below your overhand knot you will have 12 strings.
We will be working in groups of 4 ropes. Grab the first set of 4 ropes, take the rope on the right side and cross it over the 2 middle pieces and then behind the piece on the left and through the loop. Now give all 4 strings a nice tug.

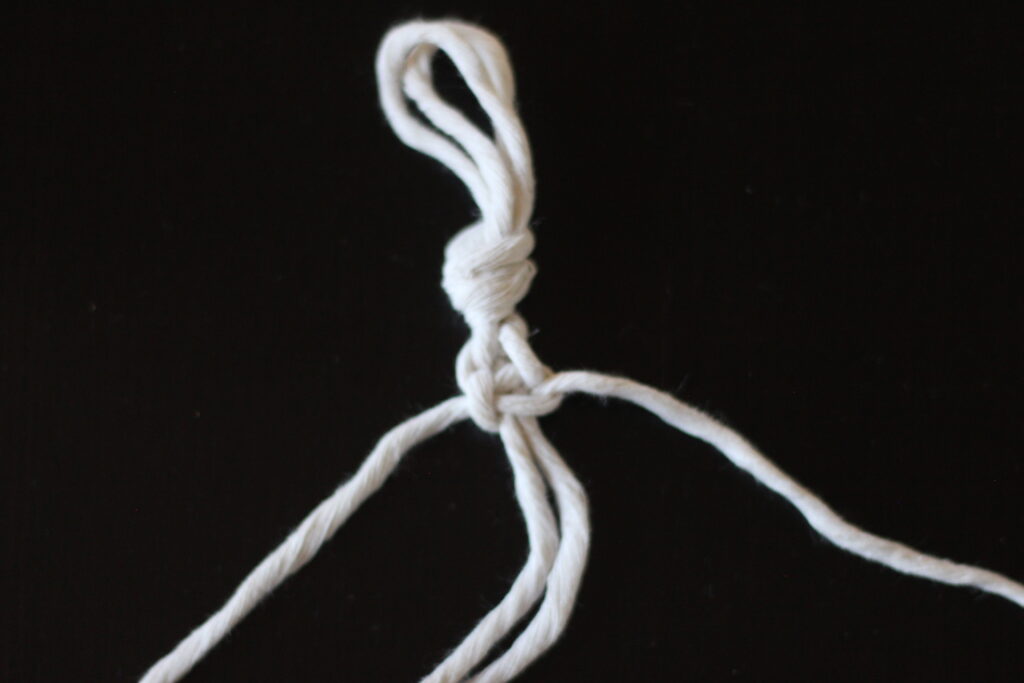
Secondly, you take the rope on the left side and cross it over the center pieces and behind the right side rope and through the loop. Now give that a nice tug. That completes your first Square knot.
Make 6 square knots in total using those same 4 ropes.
At this point you can add some wooden beads if you would like to.
To add the bead I threaded the 2 center strands through the bead and push it up so it is snug against the bottom of the square knots. Now, tie an over hand knot to keep it in place.

Next, we want to switch the 2 middle ropes with the 2 outer ropes, so bring the 2 outer ropes over the middle ones and hold in place. This is where the second knot begins.
Spiral Knot
You will create this pretty spiral pattern by doing only half of the square knot. So instead of grabbing from the right side and tying and then the left side and tying you will only grab the rope from the right side every time.
Do this knot 12 times, you should see it start spiraling .

Complete these steps on each group of 4 strings, so that will be 3 sets.
Next we make the basket for where the plant will sit.
You will take 2 strings from one of the groups and 2 strings from another group and slide your fingers down about 2-3 inches, (the lower you go the bigger the plant holder area will be) then using those 4 strings tie another complete square knot. Go around the bottom doing this same thing until all of the groups are tied together.
Lastly, grab your extra string that you cut and we’re going to finish this simple project up with a gathering knot.
Fold the extra string in half so you have 1 short and 1 longer side and a loop that hangs below. Gather the ropes altogether at the bottom and hold that loop against the group of strings and start wrapping the longer string around the group . The short string should be sticking up over the wrapped section.
The loop should be below the wrapped string and the short side of the string should be above the wrap.
Once you have the desired amount of string wrapped around the bottom you need to take the end of the string you were using to wrap and put it through that loop. Next, take the short end of the string above and pull. This will bring up the loop and create a knot so none of this will come undone.

Trim off the end of the strings so its all even at your desired length and admire your simple diy macrame plant hanger!
These hanging planters are the perfect size for any of your mini potted plants. If you are a plant lover like me you will find these are a great option to display your indoor plants.
As an amazon associate I can make a small commission if you make a purchase using one of my links.
Click here to purchase supplies for this project!

I hope you enjoy this project! Comment below and let me know if you try it out!
Check out another one of my recent Diy Projects here!


I love these!!! It would be so cute to fill a window with them!
Thank you! And so much fun to make!