
If you are loving the pampas grass trends right now as much as I am than you will love this beautiful diy dried Pampas grass decor piece for your home!
This is a fun and easy project to do that will cost you hardly anything if you cut down the pampas grass yourself! If you purchase the pampas it will obviously cost a little more but shouldn’t be too expensive as there is just minimal supplies that are needed.
This pampas grass piece will be a great addition to your living space, especially if you are looking for some neutral tones to be added to the area.
We went on a family walk and I came across a huge field of pampas grass and decided to cut some down. I couldn’t pass down some free pampas grass! I knew I would use it as an addition to some floral arrangements or for another type of project.
Supplies needed for this pampas grass arrangement
- Pampas grass
- Cardboard
- Hot glue gun
- Scissors
- Placemat
Like I mentioned, the pampas grass that I used was picked from a field and then I had it setting in my garage for a couple of months before I knew what I was going to be using it for. During that time it dried out a little bit more than it was when I picked it.
There are so many different kinds or pampas grass and I don’t think you can wrong as far as what kind you choose for a project like this.
Types of pampas grass:
Pink pampas grass- Pink pampas grass ( obviously lol)
Silver Comet – off white pampas grass
Silver Stripe- brown pampas grass
Sunningdale Silver- Off white pampas grass
Dwarf Pampas Grass – white pampas grass
Patagonia Pampas grass- brown pampas grass
These are just to name a few! The sizes can also vary, there is large pampas and small pampas so the size of your placemat can depend of the size you want to wall hanger to be as well.
I’m actually not entirely sure what type the one I picked is, as many of them look pretty similar, but all I know is that if you see a field of pampas and it isn’t private property you better pull over and pick you some! lol
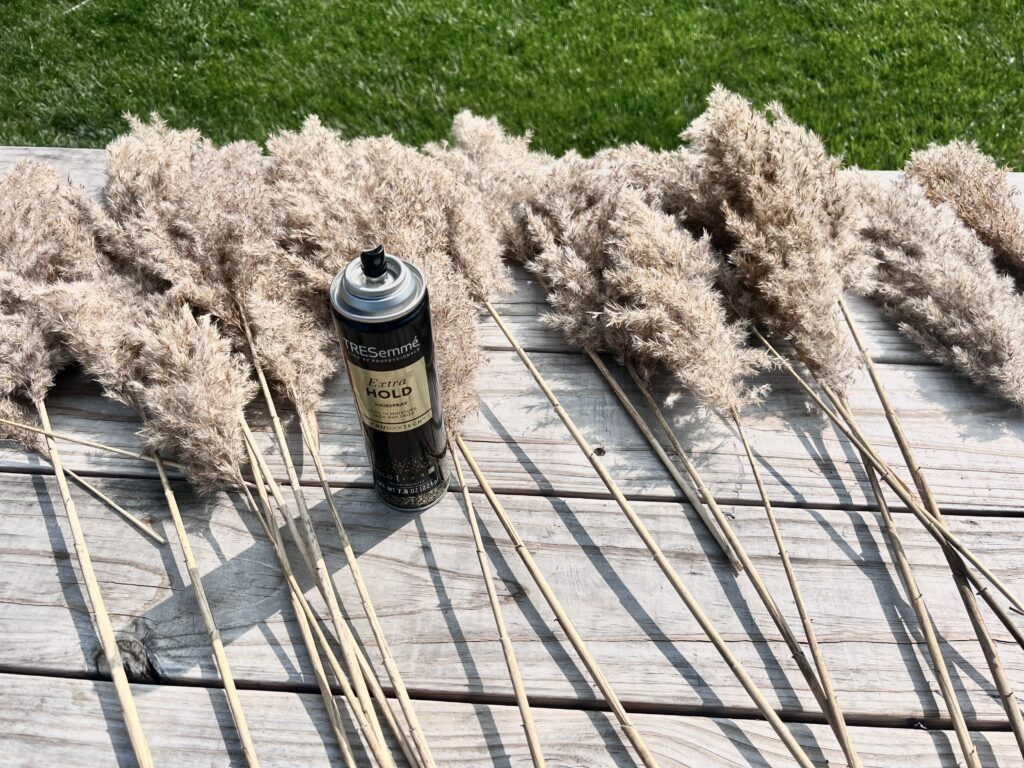
If you find that your pampas is shedding and making a mess as you work with it you can spray it with a light coat of aerosol hairspray and that will actually help it from shedding and being too messy as you work with it. I pulled all the dried leaves off of the pampas grass stems before I sprayed them with the hairspray.
Full details to making this pampas grass wall hanger:
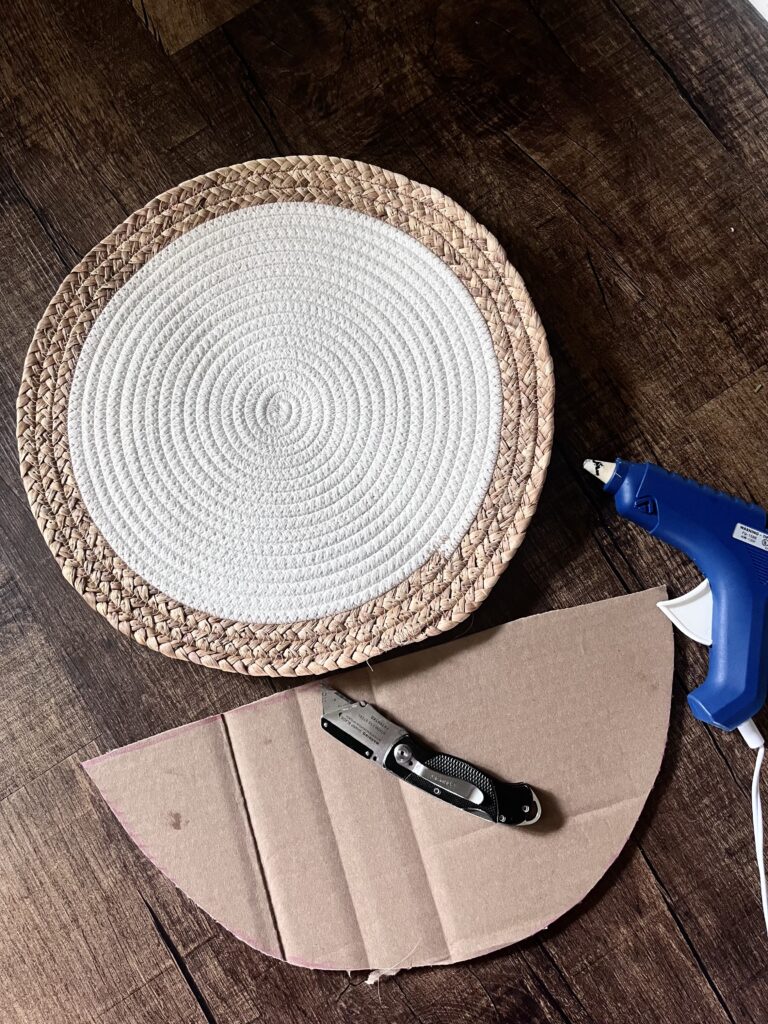
First, you will want to take your placemat and fold it in half so you can measure the size of the cardboard, and cut a piece of cardboard that is the size of that. (The half placemat) so it will be a half circle.
Next, with your hot glue gun, glue the cardboard inside of the placemat so once you fold the placemat in half again the cardboard will be hidden.
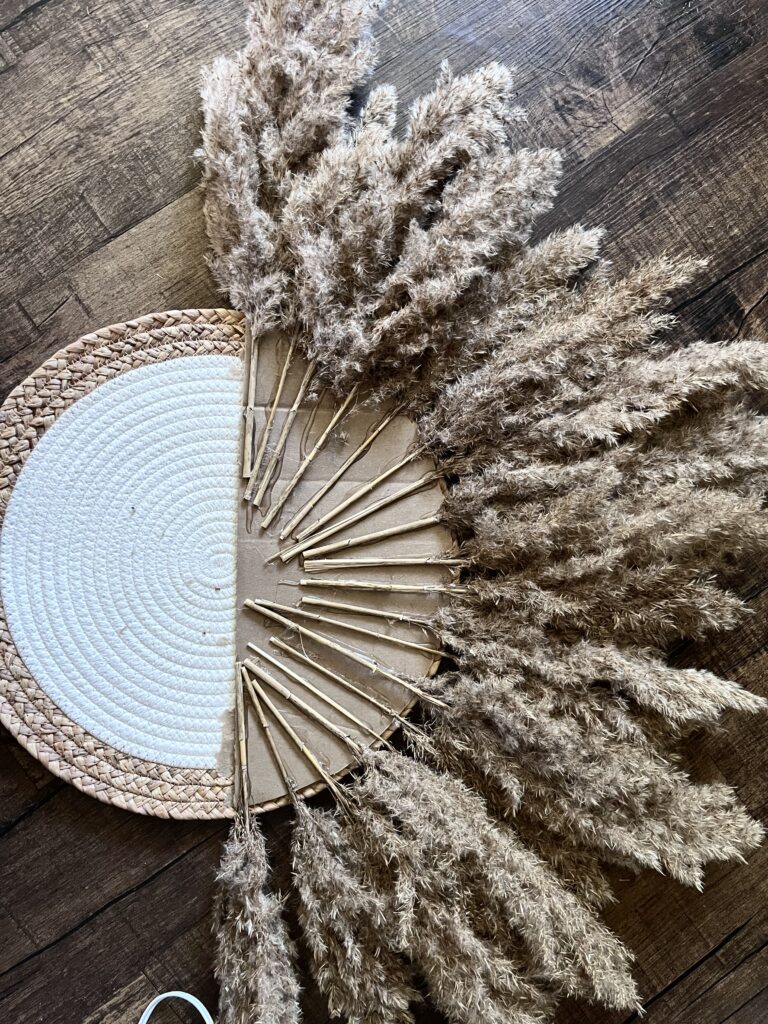
Next, you will trim the pampas grass stems, the length will depend on the size of your placemat. Cut them to where the stems are all coming together in the center of the cardboard and the fluffy part of the grass starts just at the top of the placemat.
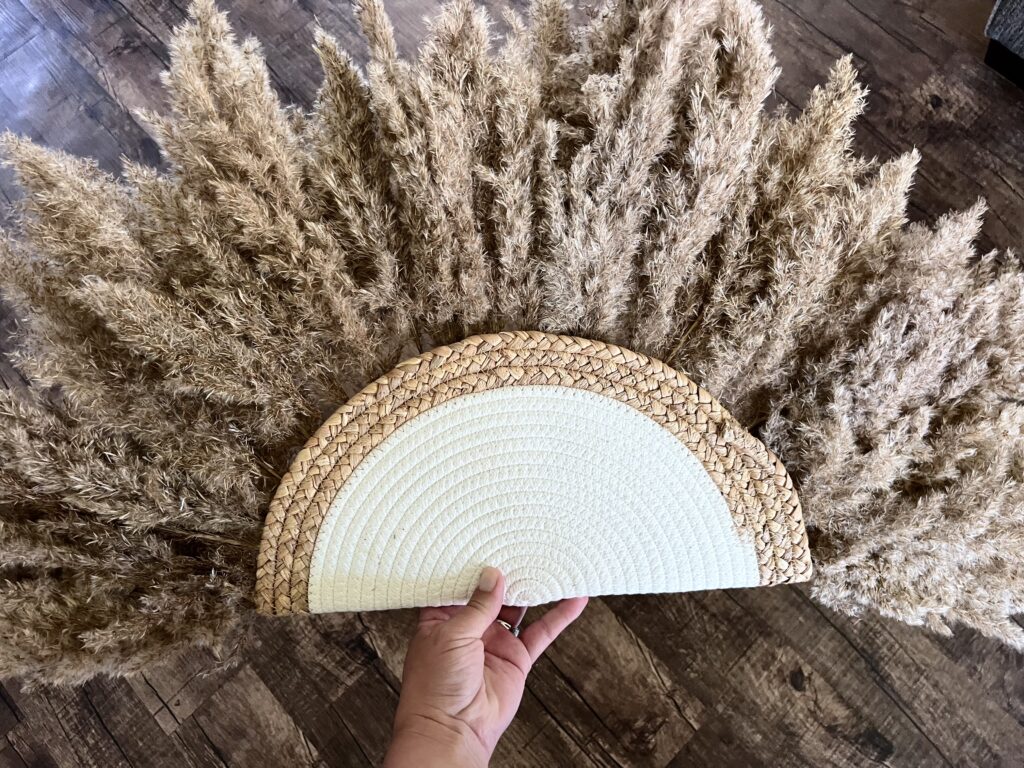
Once you have lined the stems all up and it makes a beautiful full half circle you will glue them all in place.
Line the edges with glue and press the top half of the placemat onto all of the stems and press down to make sure it is secure.

You can attach a hook or wall hanging attachment of your choice to the back of this or you can lean it on a surface such a your fireplace mantle. I currently have mine on my mantle with some other various home decor and it looks stunning!
This project could also be a beautiful and inexpensive addition to a baby shower or BOHO type themed party, you could make a few of them and have them for party decor.
I hope you enjoyed this step by step tutorial on how to make this pampas grass decor piece for your home!


Leave a Reply